How to use Water Rangers’ field app
Version 2.0 of our iOS app is available as of May 2022! Visit the App Store to download the app.
Our field app for iPhone is like a digital notepad.
On this page, you’ll learn how to login and add data to existing locations on the Water Rangers app. You’ll also learn how to create new locations on the app, and how to view your historical data.
Not an “app” type person? No worries. Check out our page which explains how to use the Water Rangers website instead.
1. Sign up for an account
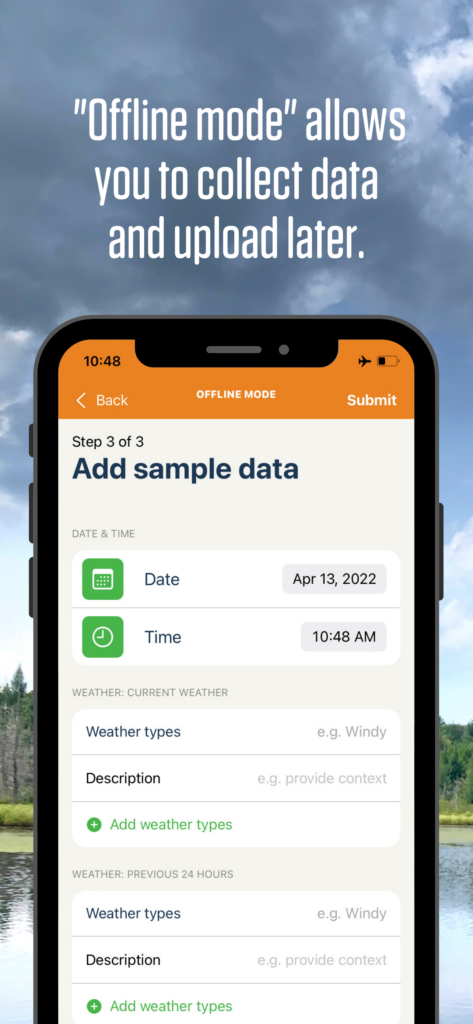
Our app works offline, too!
One of the cool things about the app is that it allows you to record your observations in the field, with or without internet connection. Simply upload your observations as you normally would, and they’ll automatically be added to your profile once you regain cell service or wifi.
First, you’ll need to sign up for an account on our website. Signing up is free and easy to do!
2. Download the app
Our app is currently only available for iPhone users. You can download to your phone directly from the App Store.
3. Login
You must have an existing Water Rangers account to log in and use the field app.
You have 4 options for logging in to the field app:
- Your email and password
- Google login
- Facebook login
- Apple login
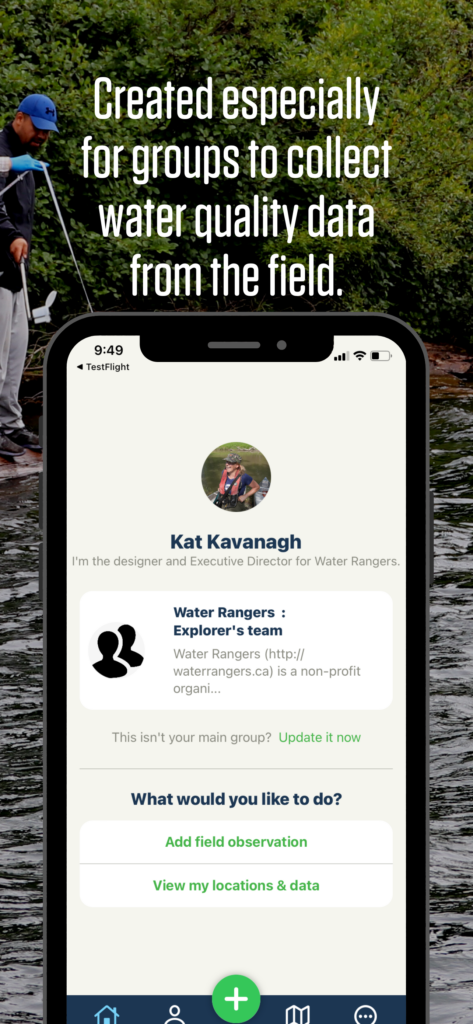
Once logged in you’ll see your profile. By default you’ll be assigned to your main group, but you can update that to another group by clicking update.
4. Add your data to existing locations
To add field observations to your existing locations, click “Add field observations” or the green + sign. There are three quick steps to adding data:
- Confirm your identity: Confirm your identity and the group you’d like the data associated with.
- Choose your sample location: Choose your sample site from the list of your existing sample locations. Click next. Then confirm your location is correct. Need to add a new location? No problem. Choose “Create location.”
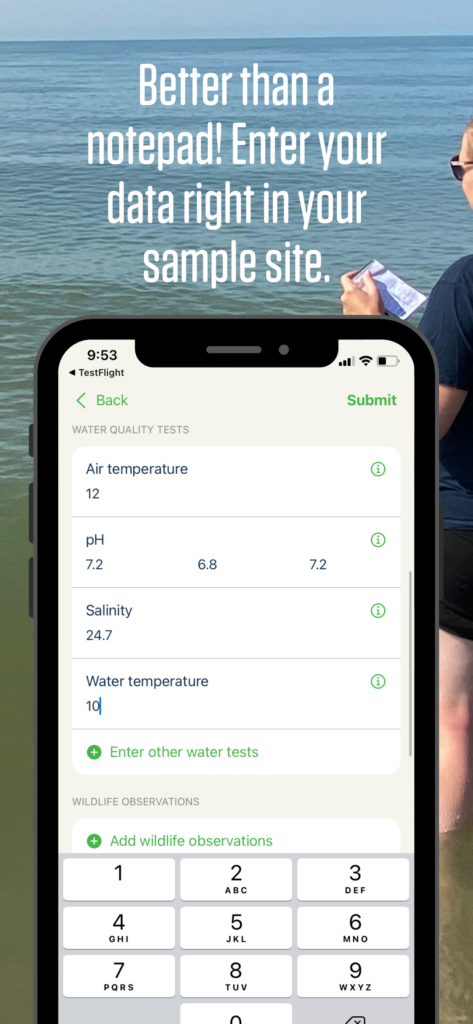
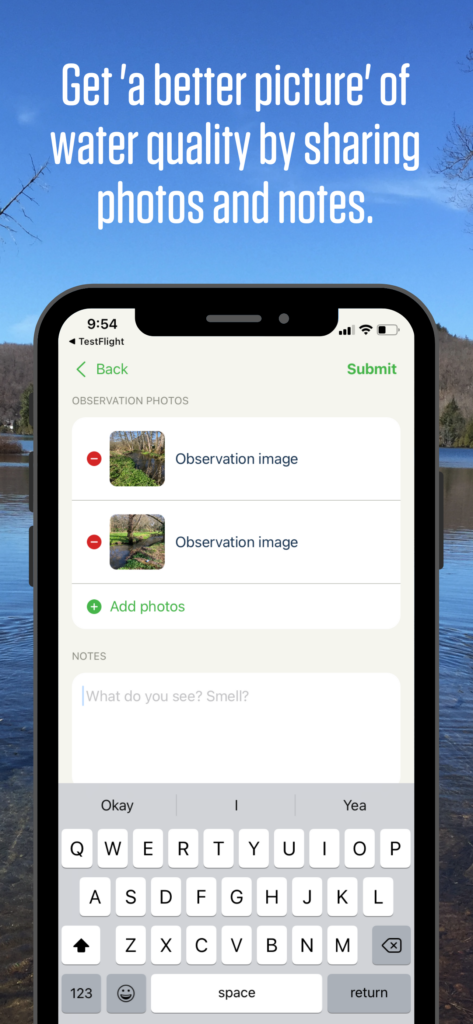
- Add sample data: On this page add time and date of testing, weather data, your test results, field observations, photos. Then submit.
Note that you’ll be following these same steps after you create new locations too.
5. Create a new location
You can add a new sample location right from the field.
There are three quick steps to adding a new location:
- Click either the “Add field observations” or the green + sign.
- On the location page (step 2 of 3), click on “Create new location”, found below the list of you existing locations.
- On the “Create location” page, use the map to pin your sample site, then fill out all the information on the create location page. Click next.
- Review the information, and if it’s correct, click “confirm.” Click “back” if you need to make any changes.
- Now you can start adding observations to your new location!
5. View your existing data!
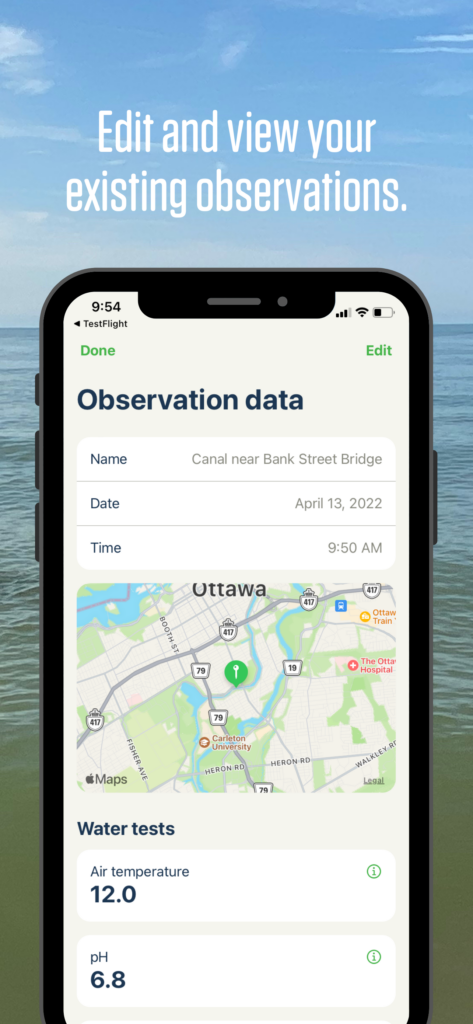
The app is primarily used for data collection. But you can view and edit individual observations from the app. To view your observations click “View my locations and data.”
To view your data, including trends, you’ll have to do so on our data platform.
What if I see several location markers close together?
Technically, there should only be one location marker at each sampling location- otherwise, the locations that have been created are duplicates of one another. To avoid creating duplicate locations, only select “add” beside “my current location” when you are sure that you want to create a new location. The app won’t recognize if you’re testing somewhere where a “location marker” already exists. It’ll treat the location as a whole new spot if you’re not careful!
Still have questions? Check out our FAQs!