Why test? Getting started
We’re building the next generation of water leaders
So you want to teach about water quality? Welcome! Water testing is so important for the health of our waters, plus it helps teach students about the wonders of water science.
For us, water testing is important for two main reasons…
1. Testing leads to connection.
In today’s world, young generations face growing eco-anxiety and concerns about environmental threats such as climate change and pollution. Teaching water-ocean-climate is a proactive approach to addressing these concerns by empowering students with knowledge and actions they can take to protect it. Now more than ever, we need more people to get involved with environmental stewardship, and testing is a great way to encourage this!
People often remark that testing:
- Encourages them to visit new beaches or lakes
- Helps them notice new things about their surroundings, such as pollution
- Leads to a greater appreciation for wildlife
- Prompts them to think about what else they can do to help
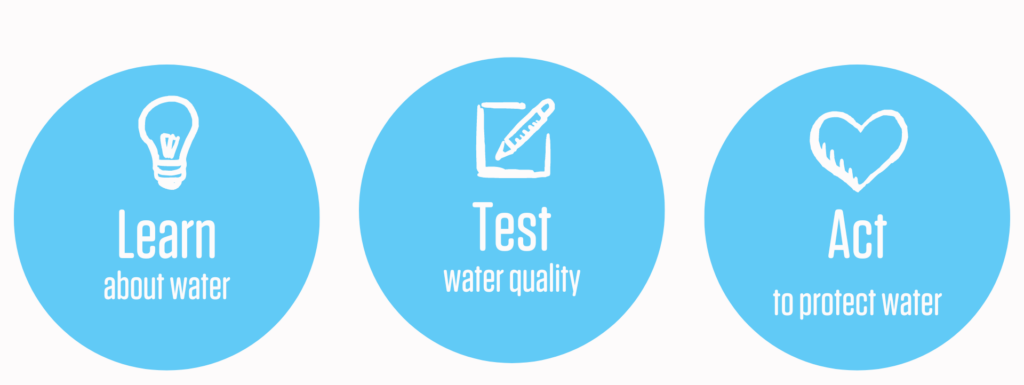
Our Theory of Change states that when people learn about, then test water, they are prompted to take action to protect it.
Learn more about the research that informs our Theory of Change2. Water quality data is desperately needed
Massive gaps in water quality data exist in Canada and beyond, which is extremely worrisome. After all, how can our leaders be expected to make good decisions for water if they don’t know how well it’s doing in the first place?
Unfortunately, there aren’t enough scientists and professionals on the ground who can consistently monitor all of the world’s water bodies. That’s where your group comes in! We don’t aim to replace scientists, but we do want to lend a helping hand. By working together, we can act in our communities and help to fill data gaps. While it’s not required, our data platform is an excellent evergreen learning tool! It allows you to create and share your classroom data legacy while connecting with thousands of others globally who are doing the same thing in their communities.

Your student is part of a bigger movement!
Every year, we teach hundreds of students across Canada to conduct basic water quality tests. Time and time again, we find that when students test the water, they develop stronger connections to it. Not only that, but water testing helps students gain a greater appreciation for nature in general! We truly believe that the best way to learn about science and the environment is by getting your hands dirty (sometimes literally). That’s why we believe in our testkits and tools as much as we do: they help students gain practical skills that they can carry with them for life.
How to test for water quality
Your educator’s field guide has all the information you need to get started, and our website is filled with lots of helpful resources that will empower you to be the classroom water testing expert! You can take our certification course, learn more about the water quality parameters we test for, read up on our blog, and much more!
Questions or feedback?
We’re never “finished” learning and growing! Please feel free to reach out to us with any questions, feedback, photos or ideas.
Contact usPreparation
Your safety is important! There are risks associated with water testing activities and you are responsible for your safety and the safety of your youth participants. Please review our safety protocols and consider your organization’s safety codes when using your kit near the water. Always remember to:
- Bring a first-aid kit
- Prepare proper clothing and gear
- Ensure adequate space near the water
- If water is deeper than 0.5 m, students must wear a lifejacket
- Be extra careful around cold water
- Check for hazards and avoid dangerous areas
- Do not trespass onto private property
- Never drink untreated water
- Wash or sanitize your hands after sampling
Choosing a testing site: Plan your excursion ahead of time. Scout the area, arrange for transportation, plan your schedule and food, and check the weather. Some supplies we suggest bringing are garbage bags, your first aid kit, hand sanitizer, a tarp for sitting, and a spare pair of clothing/towels in case someone gets soaked.
Your sample site should be a spot that you can keep going back to. Choose one:
- With a wide-open area and gradual banks (stay away from steep banks)
- Away from fast-moving water
- On a beach or beside a stream
- Where youth can easily reach the water
- On wide, stable docks or platforms
- Away from hazards or pollution sources
- Where youth can sit down to take notes or break into groups
- Away from potentially poisonous plants or tall grass that may contain ticks
- In canoes or other boats, ensure they are sturdy and safety protocols are in place
Get to know your equipment
Your education kit includes three sets of our most popular tools so students can be split into groups when testing. Watch the education kit video to learn more.
- Notepads and pens: Students can record their observations in the student notepads. The notepads list all the parameters and are numbered in the order that they should be testing.
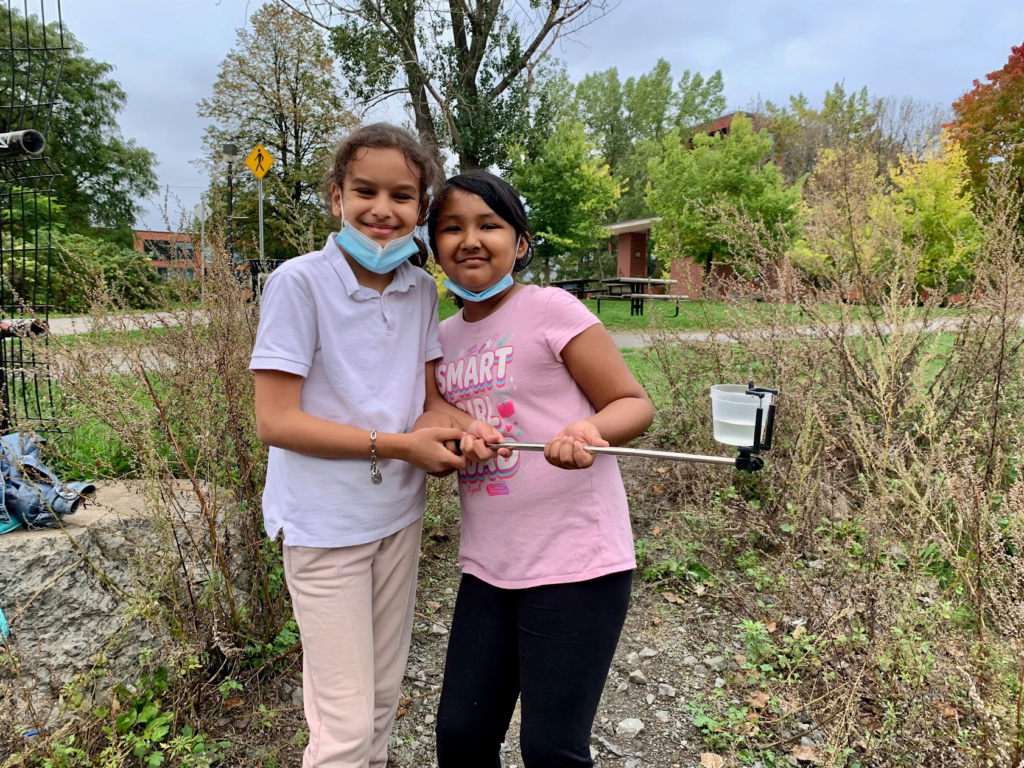
- Reacher sticks and sample cups: Fully extend the reacher stick and encourage a “below the shoulders” rule. Firmly hook the sample cup in place just under the ridge and rinse out three times before taking your sample.
- Thermometers: You can use these to measure air and water temperature. For air, hang the thermometers under a tree or another shady spot at the test site, at least 1.5 meters from the ground. For water, submerge it at least 10 cm under the water’s surface. Leave for 5 minutes before reading the values.
- Conductivity meters: To record conductivity and water temperature, dip the meter into the water and hold it until the numbers stabilize. The large number is conductivity and the small one is temperature.
- Test strips: For measuring chlorine, pH, alkalinity, and hardness. If you have the ocean strips, you will measure nitrates and nitrites instead of chlorine! Make sure students have dry hands before touching the strips, and they should use their small containers to compare with a partner.
- Dissolved oxygen test: This is our most fun but ‘tricky’ test! Demonstrate this to your class and we do not recommend younger learners to do this test themselves. Check out this page to learn more about the parameter and how to test for it.
- A measuring reel: To measure water flow.
- A container to dispose of your ampoules: Immediately dispose of used dissolved oxygen ampoules in the container and be careful since they’re made of glass!
- An envelope to dispose of your teststrips: At the end of your testing season you can mail the envelope to our warehouse to be properly recycled!
- Stickers, badges, and postcards: Use your stickers and badges as rewards as you work in the field! The postcard handouts encourage students to reflect on their experiences after water testing.
- Our education testkit does not come with a secchi disk but it can be added to your order at your request for $40, just contact us!
Our Tinykit 10 pack is great for early learners, with each pack including 10 test strips with a comparison container and a thermometer. Browse all our education products to find the perfect equipment for your excursion!